Key Takeaways
Upgrading to a push-button boat lift control box can make lifting faster, simpler, and more consistent—especially for multi-user docks.
A safe retrofit starts with identifying your current system (manual valves vs. existing controls) and matching the right control type for your lift setup.
Most successful installs follow a clean checklist: shutoff/safety, mounting, routing lines/wiring correctly, then testing cycles and fine-tuning.
If anything feels unclear (leaks, slow lift, uneven rise), stop and work with a boat lift dealer near me to protect the lift and boat.
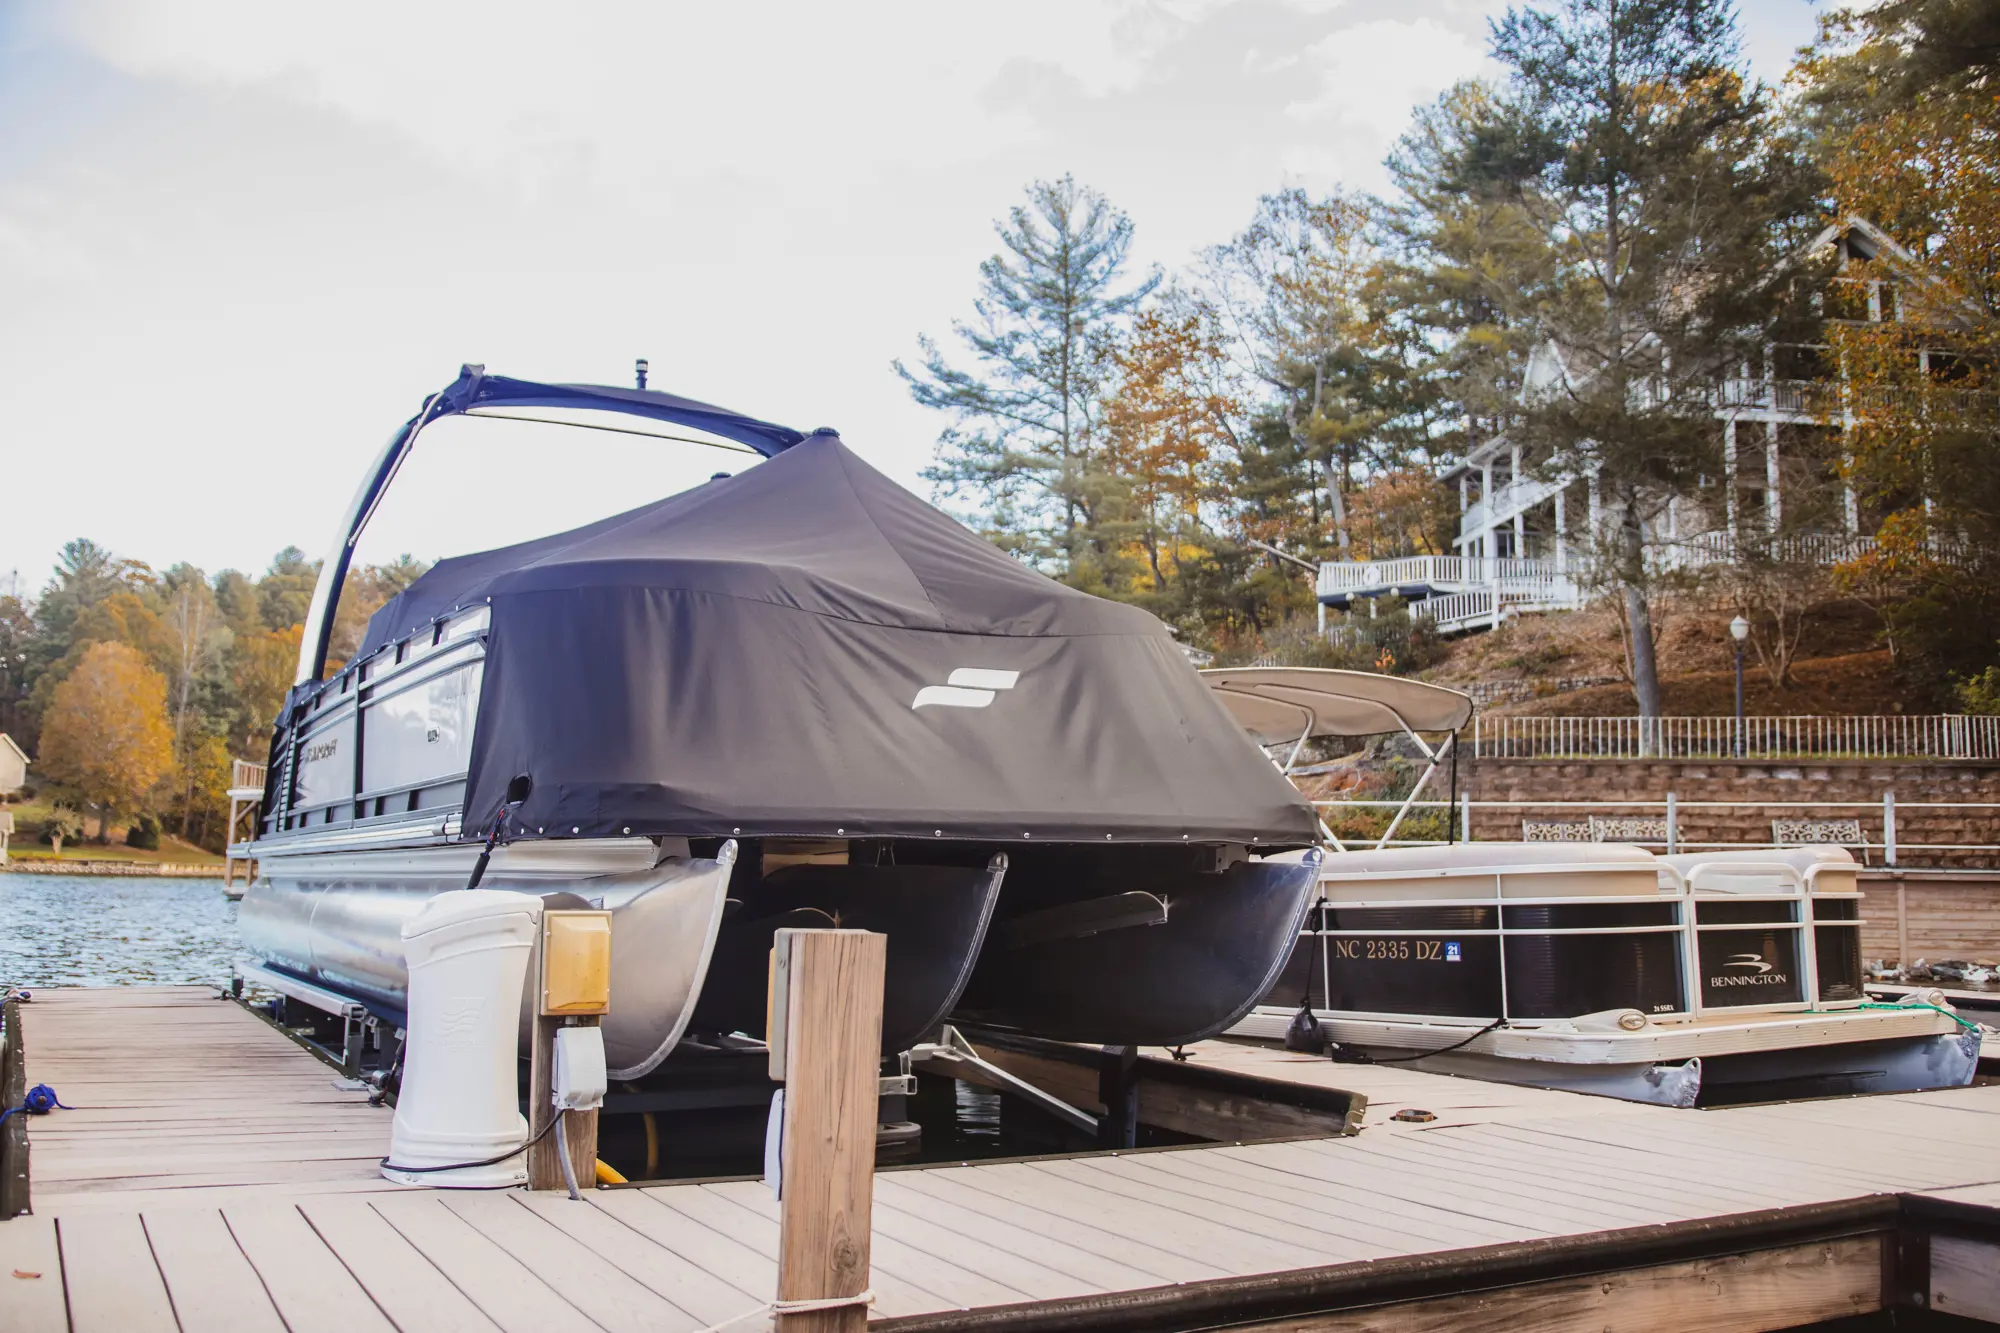
Who This Retrofit Is For (and When It’s Worth Upgrading)
In the context of hydropneumatic boat lifts like those from HydroHoist, an older manual valve system is a mechanical control setup that relies on physical levers to redirect air from a blower into the lift's tanks. Unlike modern push-button systems, these require a human operator to manually turn handles to lower or raise the boat.
Simply put, if your control system has physical levers you turn to hiss air in or out, you have a manual valve system. While these systems are reliable, they can frustrate some users with the following pain points:
Physical Difficulty: Over time, marine environments cause the internal seals and handles to corrode or stiffen. When this occurs, turning manual valves tends to require significant grip strength and leverage that may not suit some users.
Inconsistent Lifting: Because users manually control the airflow, it’s easy to fill one tank faster than the other. If you don’t turn the handles perfectly in sync, the boat will tilt to one side, putting uneven stress on the lift frame and the hull.
Learning Curve: Manual valve systems aren’t the most intuitive. For multi-tenant slips, marinas, and family docks, explaining the specific sequence of opening and closing valves to guest users can be cumbersome.
Lack of Control Flexibility: You have to be standing by the control box to operate manual valve systems. This means you can’t stay on the boat to stabilize it while it rises, or lower the boat as you’re preparing gear. For some boaters, the inconvenience adds up (Premier Remotes, 2022).
If you find yourself struggling with any of these, it may be time to upgrade to a modern boat lift control box.
Safety First—Before You Touch Anything
Before you start loosening fittings, take a moment to set yourself up for safety. Boat lift control boxes deal with compressed air and heavy loads, so a few simple precautions can prevent accidents and costly mistakes.
Lockout and Don’t Work Alone
Always shut off the blower's power before touching valves or hoses. If your system has a battery backup, disconnect that as well.
Ensure there’s no residual air pressure in the lines. A pressurized hose popping off can turn a brass fitting into a projectile.
Whenever possible, have a second person nearby. A helper can steady the boat, hand you tools, or call for assistance if something goes wrong.
Document What You See
Take clear photos of the current hose routing, valve positions, and mounting points from multiple angles.
Use masking tape and a Sharpie to label each hose and fitting (e.g., "Front Port," "Rear Starboard") before disconnecting them.
Measure and note the distance between current mounting points. This helps you determine whether you’ll need to drill new holes or if the new push-button box can use the existing bracketry.
Know When to Call a Pro
If you’re unsure what type of system you have, stop and get expert input from an authorized dealer.
Damaged lines, visible corrosion, or evidence of prior DIY repairs can signal deeper issues. If you see any of these, a certified installer or service technician is the safest path forward.
If you can’t confidently identify which line controls which tank, don't guess. Reversing a line can cause the lift to tip unevenly, potentially damaging your hull.
Identify Your Existing Setup (So You Buy the Right Control Box)
Before you order a new control box, it’s essential to know exactly what you’re working with. Boat lifts have evolved over the years, and the right upgrade depends on your current system.
Manual Valve vs. Electronic Controls
Manual Valve Systems: As mentioned earlier, if your lift has physical levers that you must turn to lift or launch, you’re working with a manual valve setup. These systems rely on mechanical handles to direct airflow.
Electronic Systems: Older electronic boat lift controls often have a single Up/Down switch or basic push buttons, but may lack modern features, such as auto-leveling, GFCI integration, or remote control.
Compatibility Checklist
Lift Model & Series: Look for a serial tag or sticker on the control box or the lift’s frame (check the diagonal tubes or the motor housing). Common models include the UltraLift Series (UL2) 4,400, 6,600, and 8,800 Shallow Water, Front Mount, or the legacy E-Series.
Tank Count & Hose Routing: Count the number of air hoses coming out of your current box. A standard V-hull lift usually has two tanks (two hoses), but larger cruisers or pontoon lifts may have three to five tanks. Your new control box must have a matching number of valve ports.
Boat Weight & Usage: High-frequency users or those with boats over 10,000 lbs may require a dual-blower setup for faster cycle times.
If the serial tag is missing, measure the steel frame. For example, a 2" x 5" lower frame tube typically indicates a 4,500 lb capacity, while a 2" x 6" tube is standard for 6,000–8,000 lb lifts.
Parts & Tools Checklist for a Push-Button Upgrade
One of the biggest frustrations when upgrading to modern boat lift controls, like the HydroMate, is being halfway through an install only to realize you’re missing a $2 stainless steel bolt or a specific hose clamp.
What Usually Comes in the Box
The Control Unit: The weather-resistant housing containing the blower motor and solenoid valves.
Standard Fittings: The male/female adapters that connect the box to your main air lines.
Internal Wiring Harness: Pre-wired connections for the blower and valves.
What You May Need to Purchase Separately
Mounting Hardware: Stainless bolts, lag screws, or brackets sized for your dock or lift frame.
Line and Wire Management: Heavy-duty UV-rated zip ties or split-loom tubing to keep your air lines secure and tidy.
Weather Protection: Conduit, sealant, or protective covers to shield wiring and hoses from UV rays and spray.
Where People Often Mess Up
Using Wrong Fittings: Trying to force a 1-inch hose onto a 3/4-inch fitting with extra clamps is a recipe for leaks and blowouts. Ensure your fittings match the hoses’ inside diameter perfectly.
Poor Placement: While control boxes are weather-resistant, they are not submersible. Mount your box at least 12–18 inches above the highest recorded water line to protect it from high tides or heavy storm surges.
Exposed Lines: Leaving air lines and electrical wires loose and exposed can snag, chafe, or create trip hazards. If a line is "snag-prone" (where a boat fender or a guest’s foot might catch it), it will eventually get pulled, leading to a slow leak that unbalances your lift. Use conduit or protective sleeves where possible.
Step-by-Step Retrofit Walkthrough
Step 1 — Choose a Mounting Location
Visualize your workflow. The control box should be easy to reach, visible during operation, and high enough to avoid splash or storm surge.
Line of Sight: Never mount a control box where you can’t see the boat. You need to ensure level lifting and watch for any potential obstructions during operation.
Line Length Planning: Plan hose and wire lengths in advance to avoid tight bends or stretched lines that can restrict airflow, reduce efficiency, and slow lift response times.
Step 2 — Mount the Control Box Securely
Use stainless fasteners sized for your dock or lift frame. As you tighten, allow for strain relief—don’t let cables or hoses pull directly against fittings. A little slack prevents wear and prolongs system life.
Step 3 — Route/Connect Lines and Components Correctly
Run hoses and wires in clean paths, avoiding pinch points or sharp edges. Label each line before connecting to keep things clear. Use conduit sleeves for protection and seal fittings carefully to prevent leaks.
Step 4 — Initial System Check Before Power/Operation
Before flipping the switch, verify every connection. Inspect hoses for kinks, confirm valve positions, and check that nothing binds or rubs.
Step 5 — Test Cycles and Fine-Tune
Run short, controlled lift and lower cycles, looking out for irregular hissing (air leaks) or uneven operation. As the tanks fill, spray soapy water solution on the fittings. If you see bubbles, you have a leak that will compromise lift capacity (Inficon, n.d.).
Every boat has a different center of gravity. As the lift rises, watch the hull. If one side is lagging, you may need to adjust the flow-control valves (if equipped) to better balance air distribution.
Troubleshooting After the Upgrade (Quick Fix vs. Dealer Call)
Even if you follow boat lift installation instructions to the letter, you may still encounter a few hiccups during the first few cycles. The key is knowing what’s normal, what’s fixable, and when to stop before causing damage.
Common Symptoms and What to Check First
Won’t Raise
Check first: Power supply to the blower, breaker/GFCI, and switch connections.
Also inspect: Loose wiring, disconnected harnesses, or tripped safety devices.
Avoid touching: Internal electrical components (if you’re not trained).
Won’t Lower
Check first: Valve operation and hose connections.
Also inspect: Kinked lines or blocked exhaust paths.
Avoid touching: Internal solenoids unless you know the system layout.
Slow Lift
Check first: Air leaks (use soapy water on fittings), restricted hoses, or undersized blowers.
Also inspect: Tight bends or partially closed valves limiting airflow.
Avoid touching: Flow-control settings until leaks are ruled out.
Uneven Rise
Check first: Hose routing—ensure each line is connected to the correct tank.
Also inspect: Air leaks on one side or airflow imbalances.
Adjust carefully: Flow-control valves (if equipped), in small increments.
Leaks Down Over Time
Check first: All fittings, hose clamps, and valve seals.
Also inspect: Hairline cracks in hoses or worn connections.
Important: A slow leak may not be obvious during operation, but will show up over hours or days.
If something doesn’t look right, resist the urge to start adjusting everything at once. Random changes can make diagnosing the issue much harder.
Don’t disassemble the control box housing or internal valves.
Don’t swap hose connections “to see if it fixes it.”
Don’t overtighten fittings—this can damage threads or crush hoses.
If you’ve checked the basics and the issue persists, it’s best to consult an authorized boat lift dealer. It’s faster (and often cheaper) than chasing a problem blindly.
Maintenance Tips to Protect Your New Controls
Seasonal Checks: Inspect hoses, fittings, and wiring at the start and end of each boating season, looking for signs of wear, corrosion, or leaks. Confirm that hoses and wires remain neatly secured, with no sharp bends or pinch points.
Best Practices: Wipe down the control box periodically to remove salt spray or grime. Avoid using high-pressure nozzles near the vents; a gentle flow is enough to dissolve salt buildup.
Periodic Functionality Tests: Run occasional test cycles during low-use periods. These quick checks help you spot performance imbalances before they become real issues.
When to Work With a Dealer (and What to Ask Them)
While many boaters can handle a basic retrofit, an authorized HydroHoist dealer brings an unparalleled level of precision to control box retrofits. More importantly, professional installation is often required to maintain the full manufacturer’s warranty.
When to Call an Authorized Dealer
Electrical Concerns: If your dock’s power pedestal frequently trips breakers, you may need a dedicated 15-amp circuit or an electrical upgrade before installing a high-flow blower.
Uneven Weight Distribution: If you notice your boat isn't sitting level on the bunks after the upgrade, you may have a weight distribution issue that requires a professional to shift the tanks on the frame.
Common Questions to Ask Your Dealer
Is this control box compatible with my lift model and tank configuration?
Is my current power supply sufficient for the HydroMate’s high-flow motor?
Do you recommend any specific sacrificial zinc anodes for my lift's frame in this water type?
What is your recommended schedule for a full structural lift inspection?
If you’re unsure about anything regarding your boat lift control box upgrade, enter your zip code in the dealer locator tool below. This will give you a list of boat lift dealer near me, along with their contact information and driving directions.
FAQs
Can I retrofit a push-button control box on an older boat lift?
Yes. Most older HydroHoist boat lifts can be retrofitted with a modern push-button control box, provided the new system matches your lift’s tank configuration and hose setup. The key is verifying compatibility before you buy, especially the number of tanks, valve ports, and blower capacity.
If your lift is structurally sound, upgrading the controls is typically a straightforward way to modernize operation.What’s the difference between manual valves and push-button boat lift controls?
Manual systems require the operator to physically turn heavy levers to sync airflow, which can be physically demanding and difficult to balance perfectly. Push-button controls use electronic solenoid valves and high-flow blowers to automate the process, offering one-touch operation and remote-control capabilities.
This eliminates the guesswork of leveling your boat and makes the lifting process much faster and more intuitive for every user.
Where should I mount a boat lift control box for the safest operation?
You should mount your control box in a location that provides a clear, unobstructed line of sight to the entire lift and the boat's hull during operation. For safety and longevity, ensure it is mounted at least 18 inches above the highest possible water line to avoid flood damage or salt spray. It should also be bolted securely to a stable piling or dock post to minimize motor vibration and protect the internal electronics.
What are the signs that my lift controls are not installed correctly?
Common red flags include the boat tilting significantly to one side during a lift cycle, which usually indicates reversed air lines or improper valve calibration. You should also listen for audible hissing (air leaks) at the fittings or notice the blower motor struggling or cycling more frequently than usual.
If the push-buttons don't respond immediately or the GFCI trips constantly, there is likely a wiring or grounding issue that needs immediate professional attention.
My lift won’t raise after upgrading—what should I check first?
Start by verifying that the blower has power and that any breakers or GFCI outlets haven’t tripped. Then check that all wiring connections and hose lines are properly connected and free of kinks or leaks.
If everything appears correct but the lift still won’t respond, it’s best to pause and consult a dealer rather than risk damaging the system.
Do I need a dealer to install, or can I do a retrofit myself?
While a handy DIYer can perform a basic retrofit, working with an authorized HydroHoist dealer is recommended to ensure the system is perfectly balanced and your warranty remains fully intact. Dealers have specialized tools to test for micro-leaks and can verify that your dock's electrical capacity safely matches the new motor's demands.
References:
Premier Remotes (June 8, 2022). Problems with other boat lifts,
https://www.youtube.com/shorts/clTwQF-G564?si=7Ytlg1_UgakzGNjP
Inficon (n.d.). Soapy Water Leak Detection: A Method with Limitations,
https://www.inficon.com/en/news/soapy-water-leak-detection-a-method-with-limitations


