Posted on July 28, 2021
HOW TO USE GUIDE BOAT ROPES ON A BOAT LIFT
Written by HydroHoist Marketing
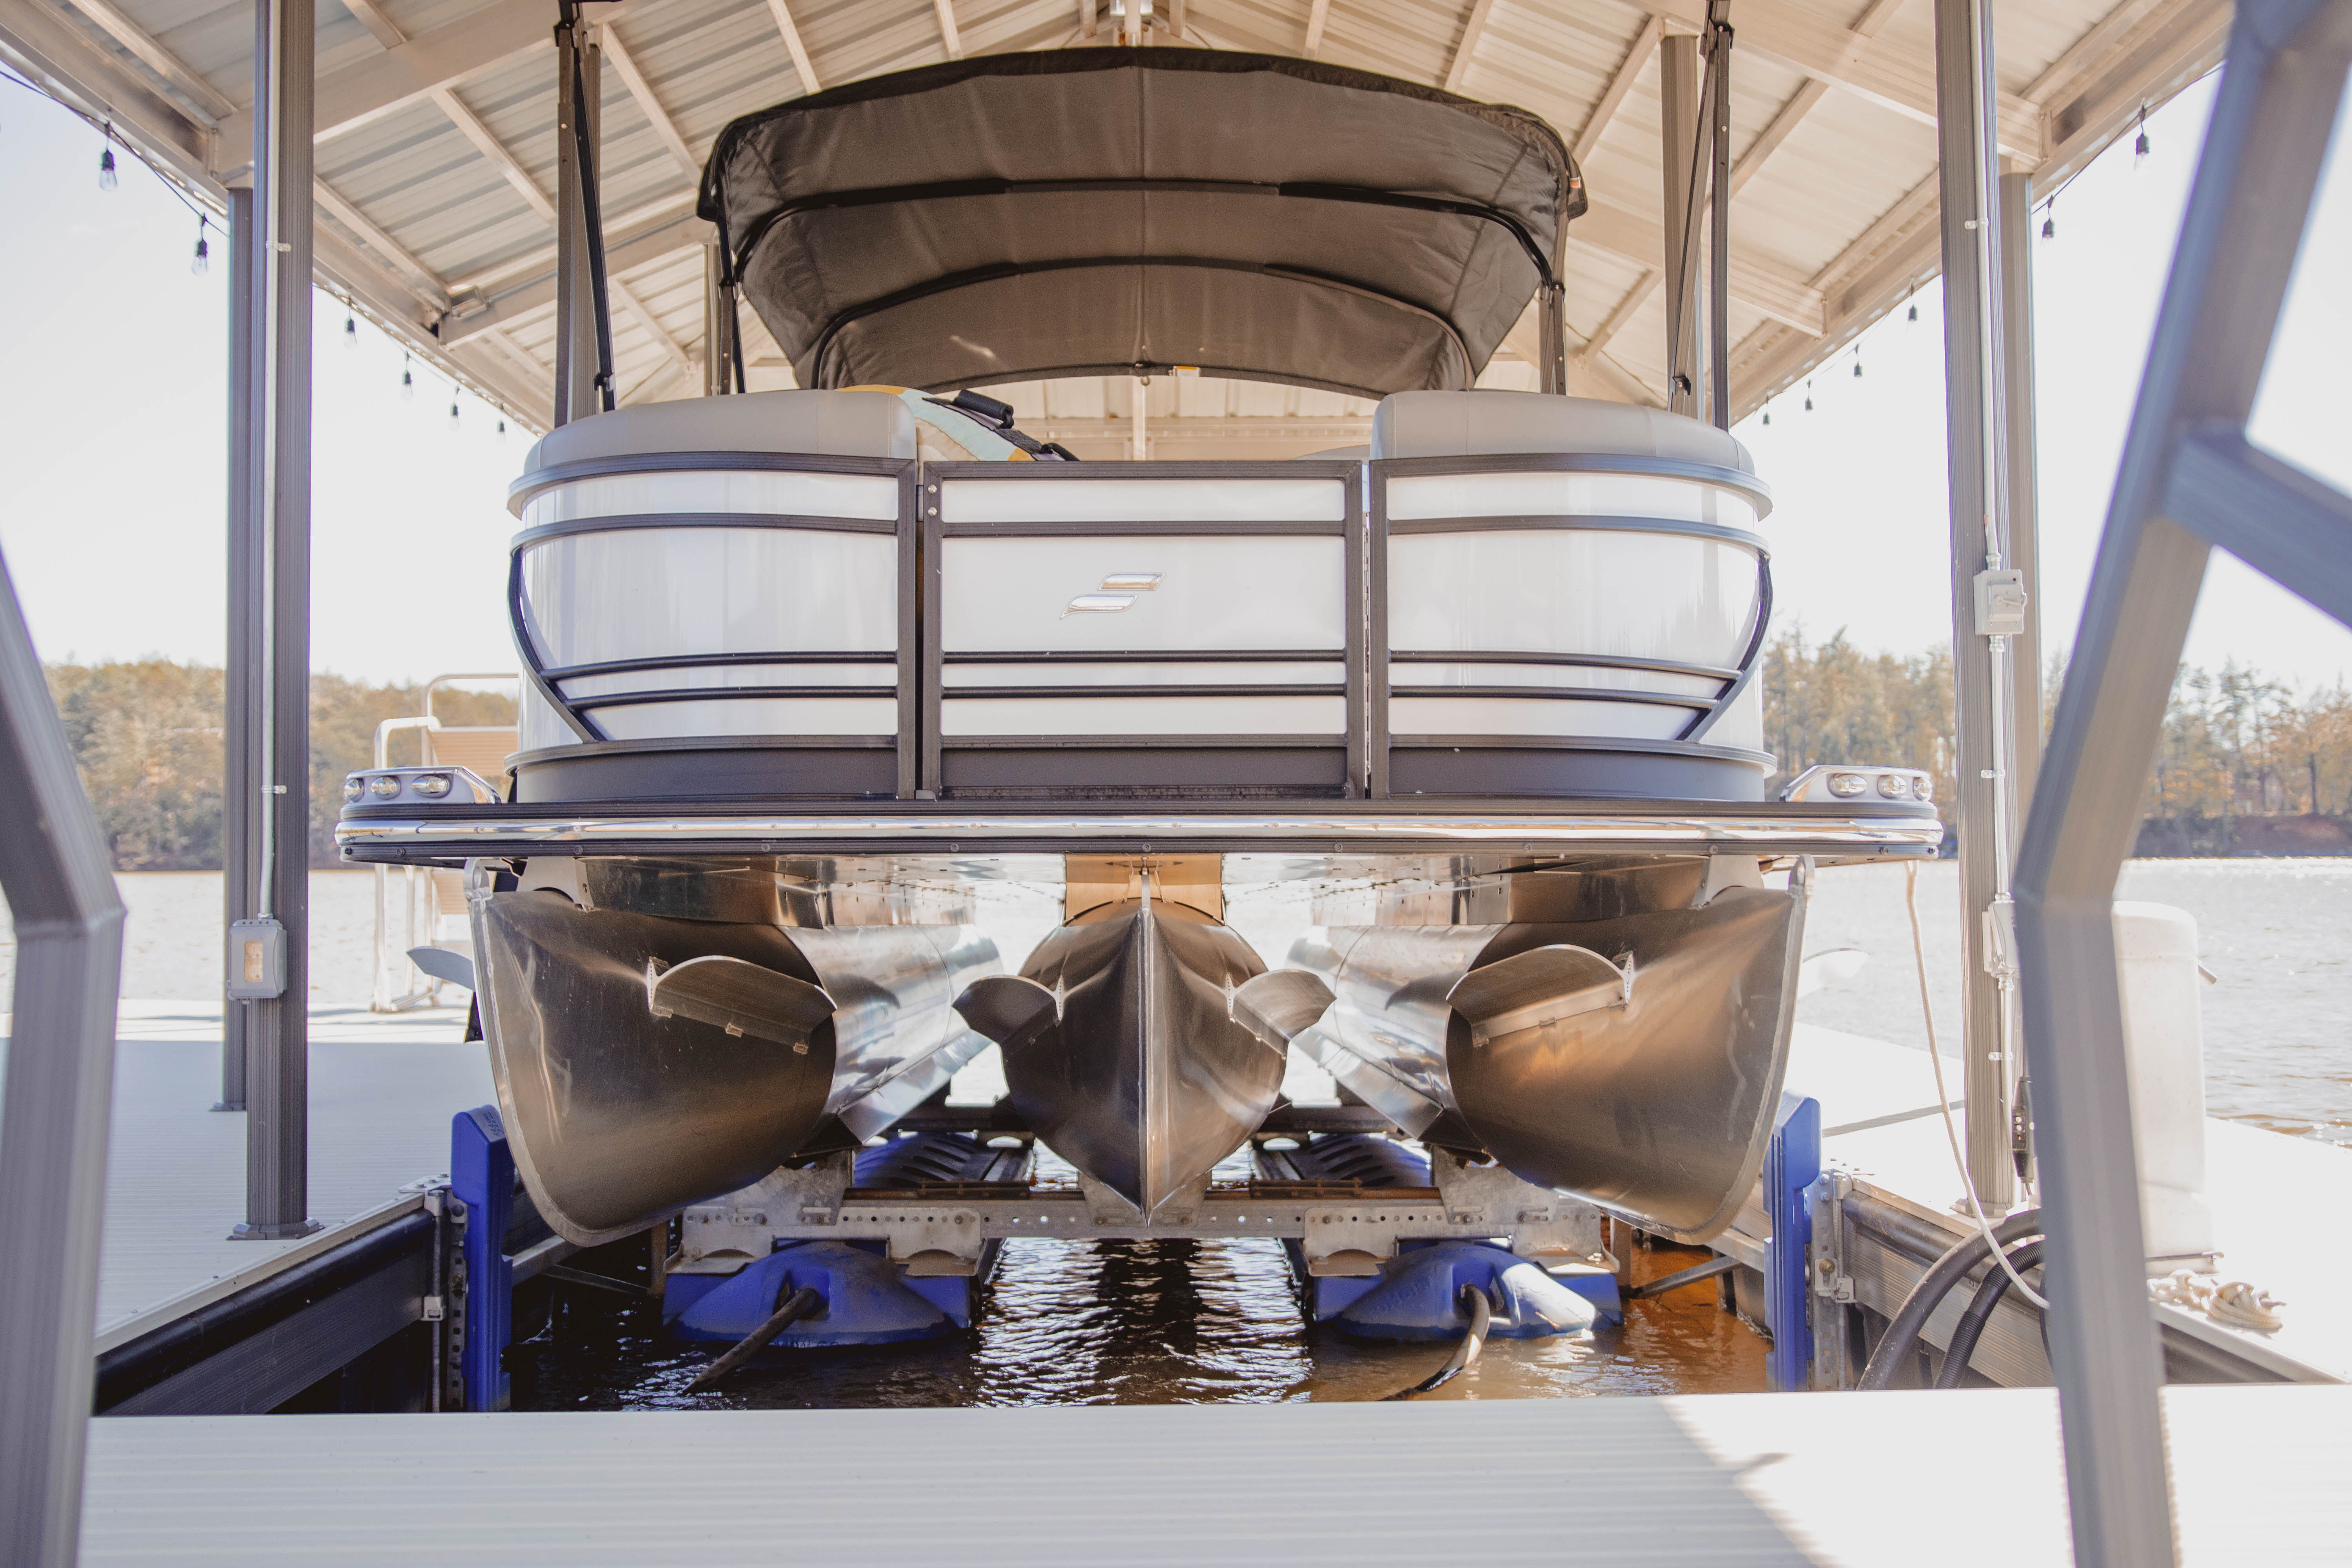
Guide ropes make it easier to align your boat over the lift prior to raising. Guide ropes are typically installed in one of two ways, but there will always be two on each side of the boat. The length of your boat and slip, as well as the position of your roof posts, will generally determine which way that your guide ropes are installed.
If the guide ropes are tied to the center roof post on your slip, first you will pull your boat into the slip. Then, hook the loop that is at the end of the guide ropes to the rear cleats on your boat. Next, switch on the blower motor and turn the valve handle lever(s) to the lift/launch position. Quickly grab the bow of your boat and center the bow in the slip and push the boat back against the guide ropes. The guide ropes will align the boat in the slip fore and aft, and they will also center the rear of the boat. Once the lift comes up and contacts the boat, you can release the bow. As the boat continues to rise, the ropes will go slack.
If the guide ropes are tied to the rear post on your dock slip, first you will pull your boat into the slip. Then, hook the loop that is in the end of each rope to the rear cleats on your boat. Next, switch on the blower motor and turn the valve handle lever(s) to the lift/launch position. Quickly grab the bow of your boat and position it in the center of your slip while at the same time pulling forward on the boat. The guide ropes will align the boat fore and aft and center the rear of the boat. Once the lift comes up and contacts the boat, you can release the bow. As the boat continues to rise, the ropes will go slack.
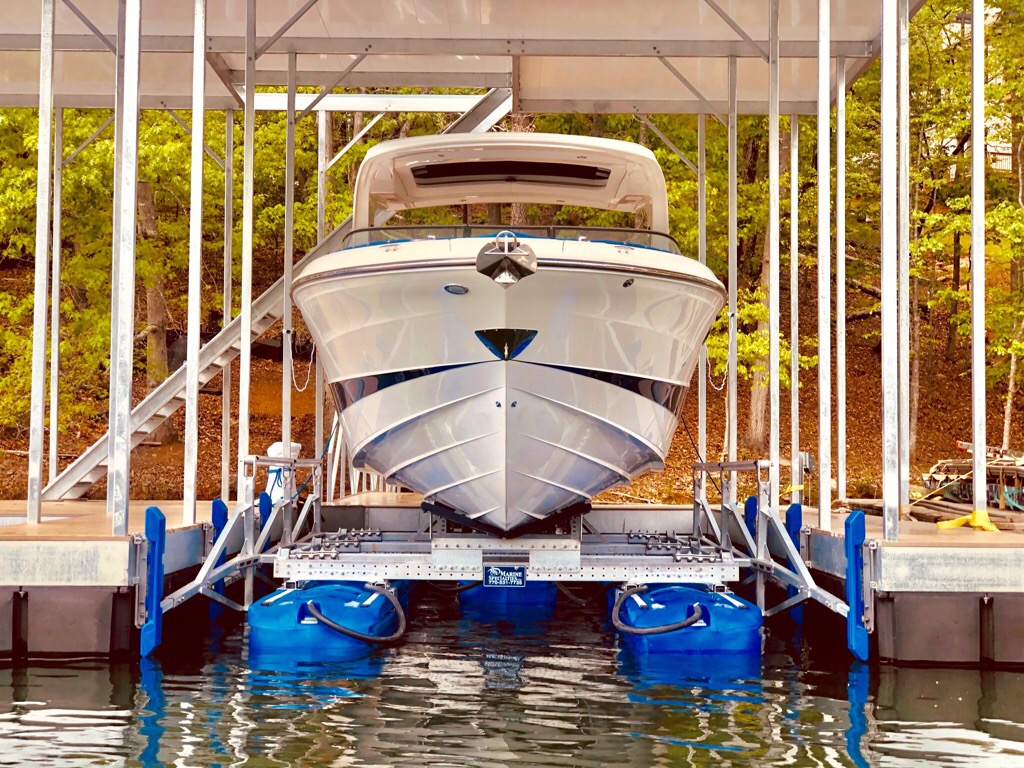
If your boat is installed as a back in, then the guide ropes will most likely be tied to the forward roof post in your slip. First, back your boat into the slip. Then, hook the loop that is in the end of each rope to the forward cleats on your boat. Next, switch on the blower motor and turn the valve handle lever(s) to the lift/launch position. Quickly center the rear of your boat in the slip and push forward against the guide ropes. The guide ropes will align the boat fore and aft and center the nose of the boat. Once the lift comes up and contacts the boat, you can release the stern. As the boat continues to rise, the ropes will go slack.
On the front mount style hoist, the guide ropes will be tied to the forward part of the hoist frame. First, pull the boat over the hoist. Hook the loop that is in the end of each rope to the rear cleats on your boat. Switch on your blower motor and place your valve handle levers in the lift/launch position. Quickly grab the bow of your boat and center the bow over the hoist frame and push the boat back against the guide ropes. The guide ropes will align the boat over the hoist fore and aft and will also center the rear of the boat. The guide ropes will also prevent the boat from being pushed to the rear as the front mount lift will slightly raise the front of the boat on initial contact. Once the lift comes up and contacts the boat, you can release the bow. It is a good idea to leave the guide ropes attached to any boat that is on the hoist but it is crucial on the front mount hoist. When the hoist is initially lowered, the boat may try to drift off the hoist due to the stern lowering first. The guide ropes will prevent this from happening.